Dr Kwon Golf Drills

Dr Kwon Golf Drills – Stage 1 to Stage 3

Dr. Kwon approaches the game of golf from an extremely technical perspective. He is after all the Director of Biomechanics and Motor Behavior at Texas Women’s University.

Even though he falls within the ‘golf scientist’ category, his golf drills use very natural movement patterns. They are relatively simple to perform (although admittedly it is easy to do them wrong), and they can help you unlock your athletic potential as a golfer.

In this post, we go through Dr. Kwon’s Stage 1, Stage 2 and Stage 3 Golf Drills, that were all featured on the BeBetterGolf Youtube Channel. We also take a look at the Stage X drill which can help you develop a more natural takeaway. In addition to tapping into a more natural golf swing, practicing Dr. Kwon’s golf drills can also increase your distance off the tee. According to Dr. Kwon, ’30 extra yards is normal’.

Also, if your looking for other ways to increase your driving distance, check out our post featuring the best golf training aids for swing speed. 

An Extra 30 Yards Is Normal

Dr Kwon, Director of Biomechanics, Texas Women's University

Dr Kwon Stage 1 Drill

Start with your feet two fists apart.
When you do the steps, don’t step too wide.

Move 1: Rock the clubhead forward (in the region of waist high, maybe a little bit beyond that).

This is called the trigger motion. To be 100% clear, you move the clubhead forward, rather than backward during this trigger motion.

Move 2: Initiate your backswing by stepping back into your right leg (trail leg), and swing the club all the way to the top of your backswing.


Move 3: Initiate your downswing by stepping forward into your left leg (lead leg), and swing through all the way to a balanced finish.


NB: The biggest mistake that most people make with this drill is that they initiate the step forward (to start the downswing) too late.
You actually have to make the step forward, before the clubhead reaches the top of the backswing.

Brandon from BeBetter Golf uses waist-high as a key reference point. Basically, when you rock the club forward (the first move in stage 1), you can start the step back when the clubhead reaches the waist-high point during the rock forward movement. Then when the club reaches waist-high in the backswing, you can start the step forward. Most players wait too long to initiate the step forward. Using the waist-high reference point is a reliable way to combat this tendency.

Stage 1 Summary:

  • Move 1 – Rock Club Forward
  • Move 2 – Step back backswing
  • Move 3 – Step forward follow-through
Stage 1 - Move 1
Move 1 - Rock Club Forward
Stage 1 - Move 2
Move 2 - Step Back Backswing
Stage 1 - Move 3
Move 3 - Step Forward Follow Through

Stage 1 Key Points

  • Feet are 2 fists apart to start
  • Make sure the forward rock has some force. A lot of people are too gentle with the forward toss that initiates the Stage 1 drill.
  • Don’t step too far back or too far forward
  • Practice initiating the forward step at the waist-high point during the backswing
  • Aim for 10 good reps of the Stage 1 Drill

Dr Kwon Stage 2 Drill - Lead Step Only

Stage 2 Summary:

  • Setup Position: Feet shoulder-width apart
  • Move 1: Rock the club forward
  • Move 2: Initiate your backswing
  • Move 3: Step forward follow through
Stage 2 - Move 1
Move 1 - Rock The Club Forward
Move 2 - Complete Your Backswing
Move 3 - Step Forward Follow Through

Stage 2 Points To Remember

  • There is no ‘step back’ component in stage 2
  • It is still helpful to initiate the step forward follow through, once the clubhead gets to waist high during the backswing
  • Make sure the lead step isn’t too far. It’s a small step forward. The number one mistake when doing this drill is taking a step forward that is too big. The step forward should be about 5 inches in length. Most people step forward almost a foot (12 inches). 
  • Aim for 10 solid reps of the Stage 2 Drill

Dr Kwon Stage 3 Drill - No Steps

Stage 3 Summary:

  • Setup Position: Feet slightly wider than shoulder-width apart
  • Move 1: Rock the club forward
  • Move 2: Load into your right leg/hip during the backswing
  • Move 3: Load into your left leg/hip during the followthrough
Move 1 - Rock The Club Forward
Move 2 - Load Into Your Right Hip During Backswing
Load Into Your Left Hip During Follow through

Stage 3 Points To Remember

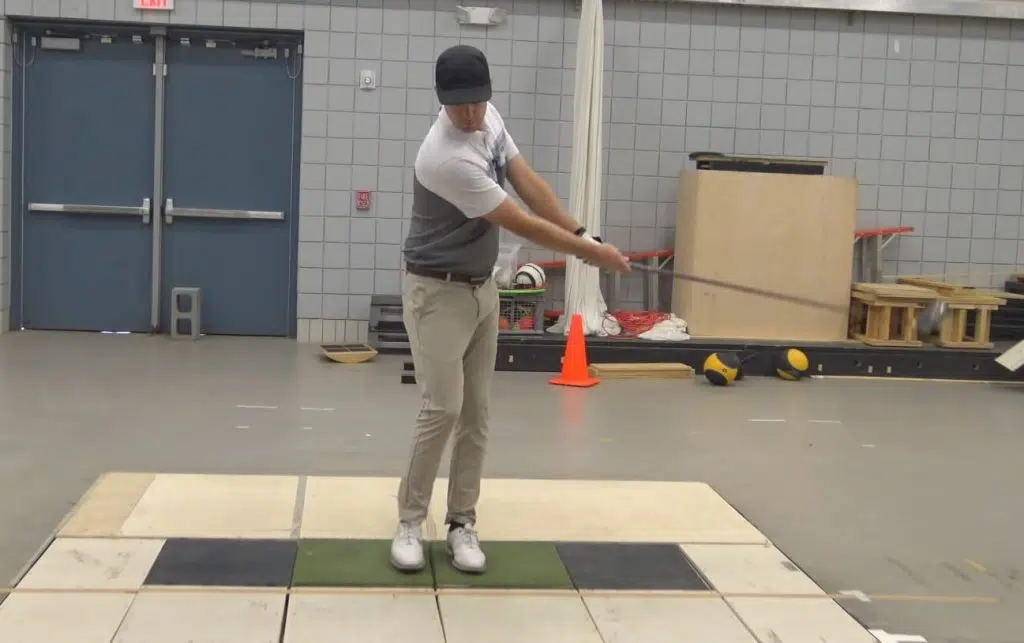
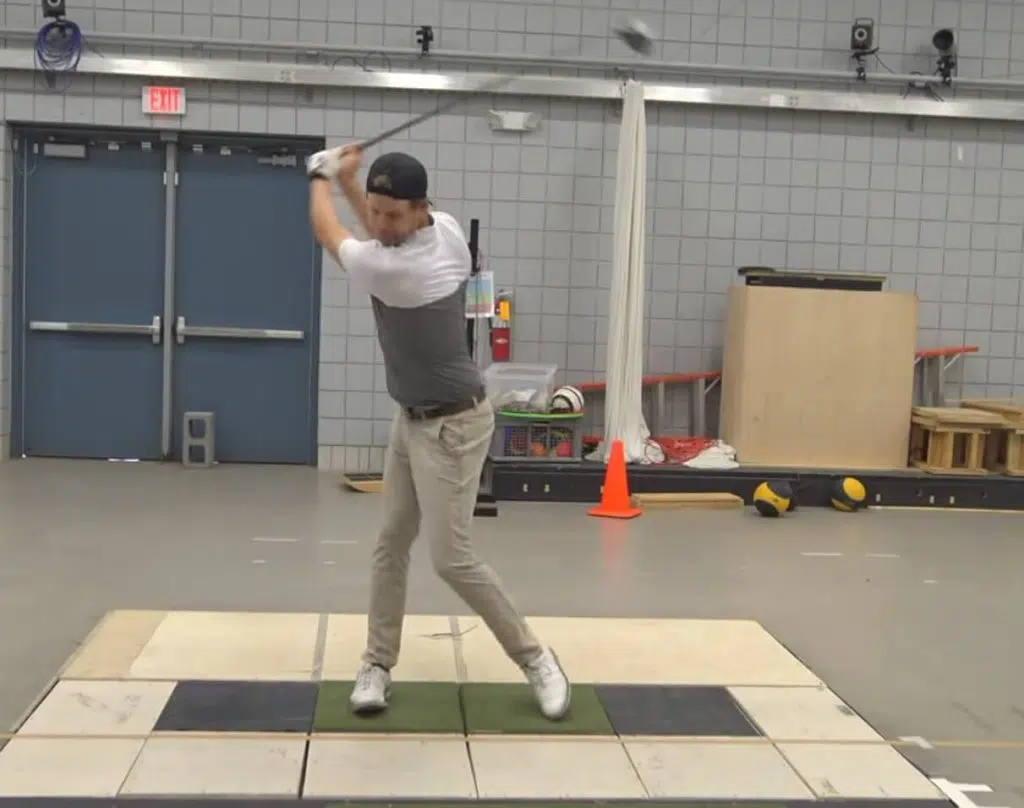
Even though there are no steps with the stage 3 drill, your intention should be to mimic the pressure and force that is applied to the trail leg and the lead leg in stage 1. The stage 1 drill uses steps because it makes it natural and easy to use the force that your legs can generate during a golf swing.

The challenge with stage 3 is to generate a comparable level of ground force with each leg, but without taking any steps.

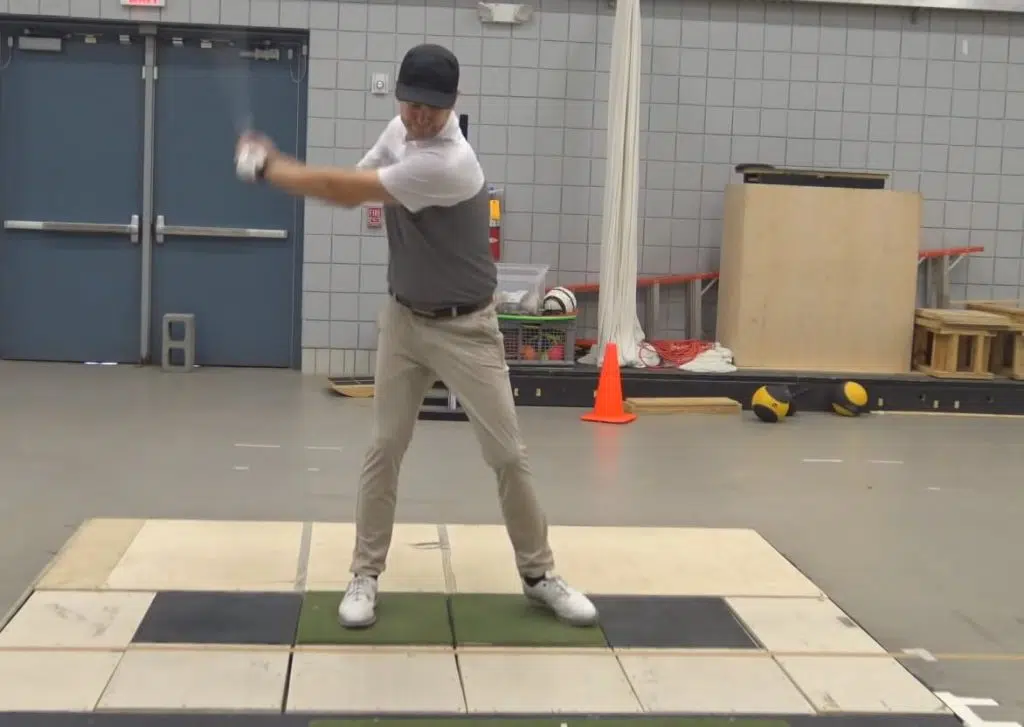
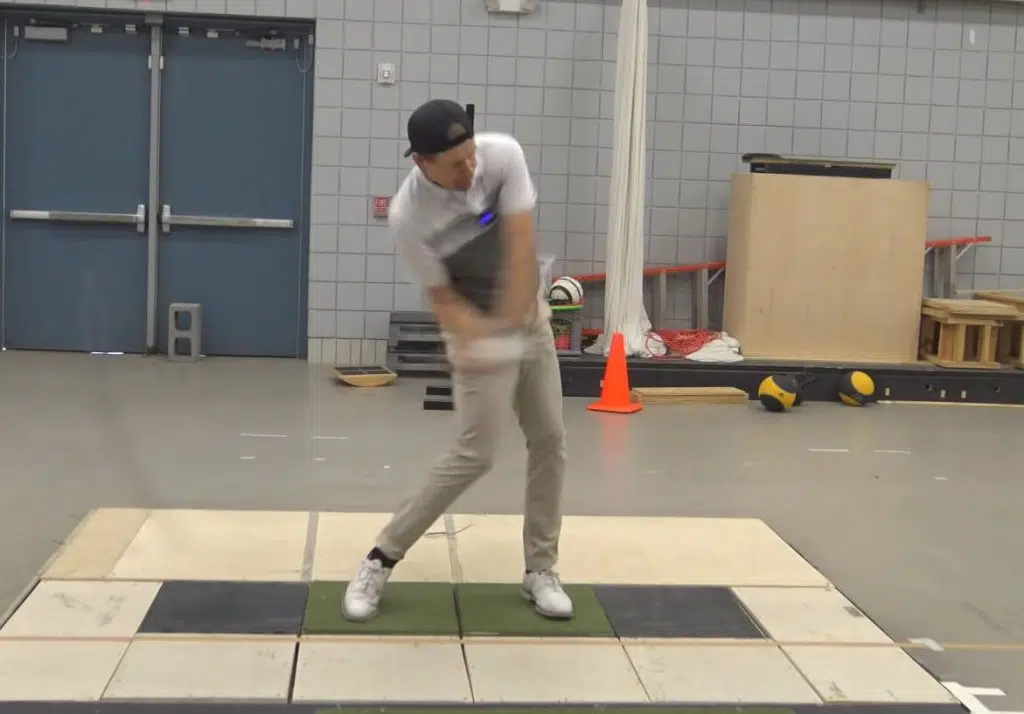
Naturally, this is a more difficult task, but Stage 1 and Stage 2 should create the neurological and physiological pathways that you need to recreate those force patterns, without taking any steps.

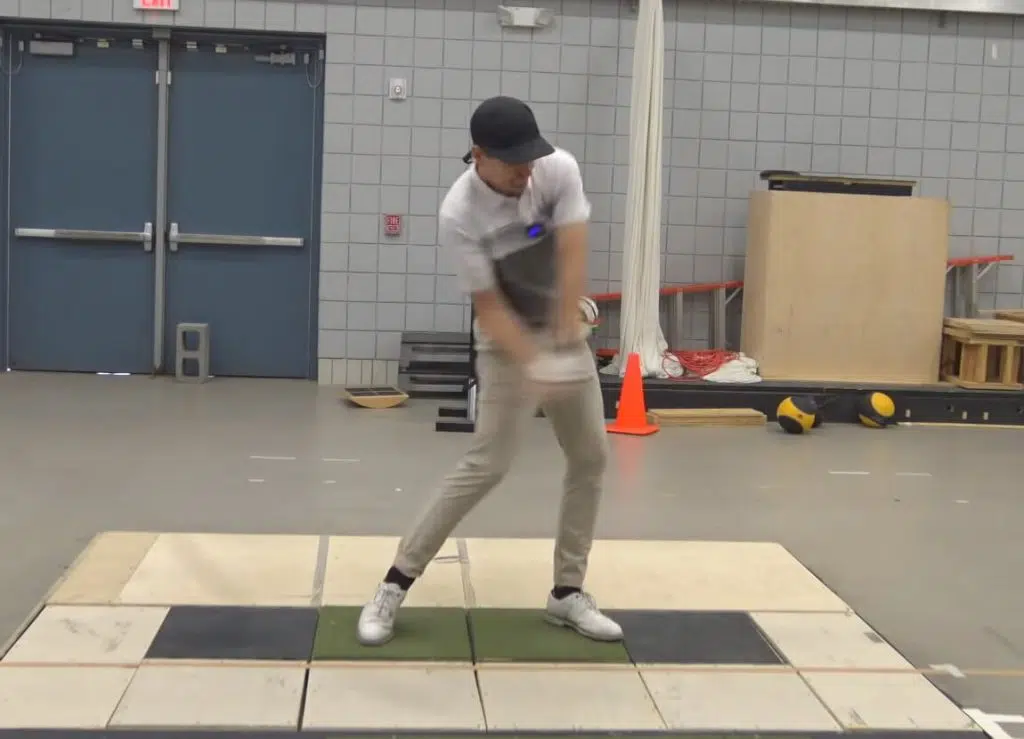
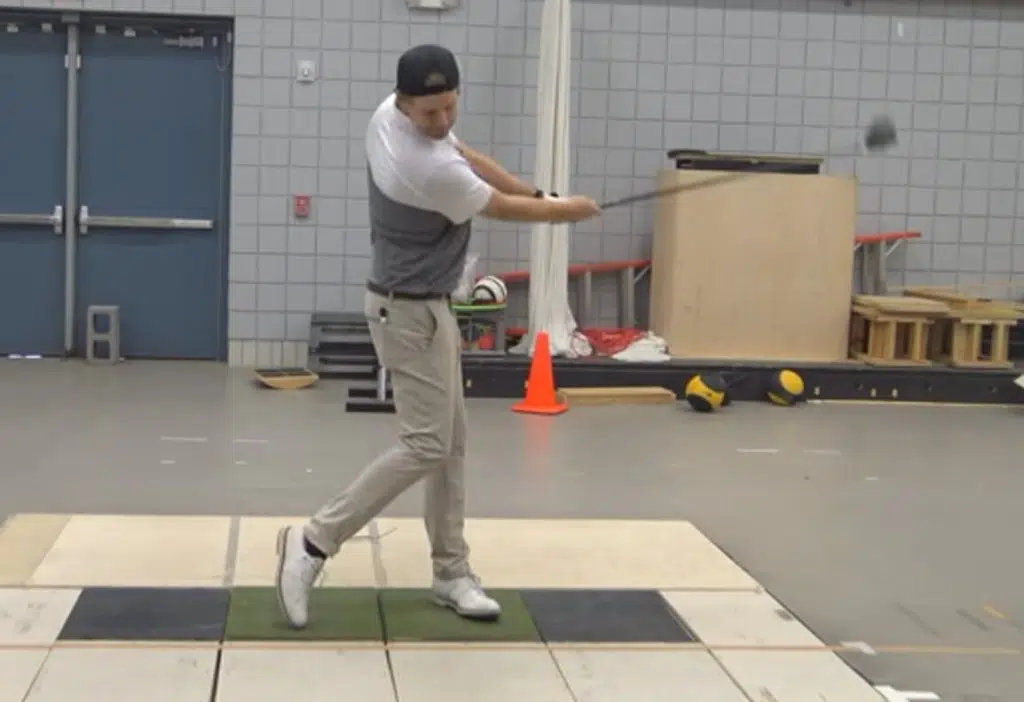
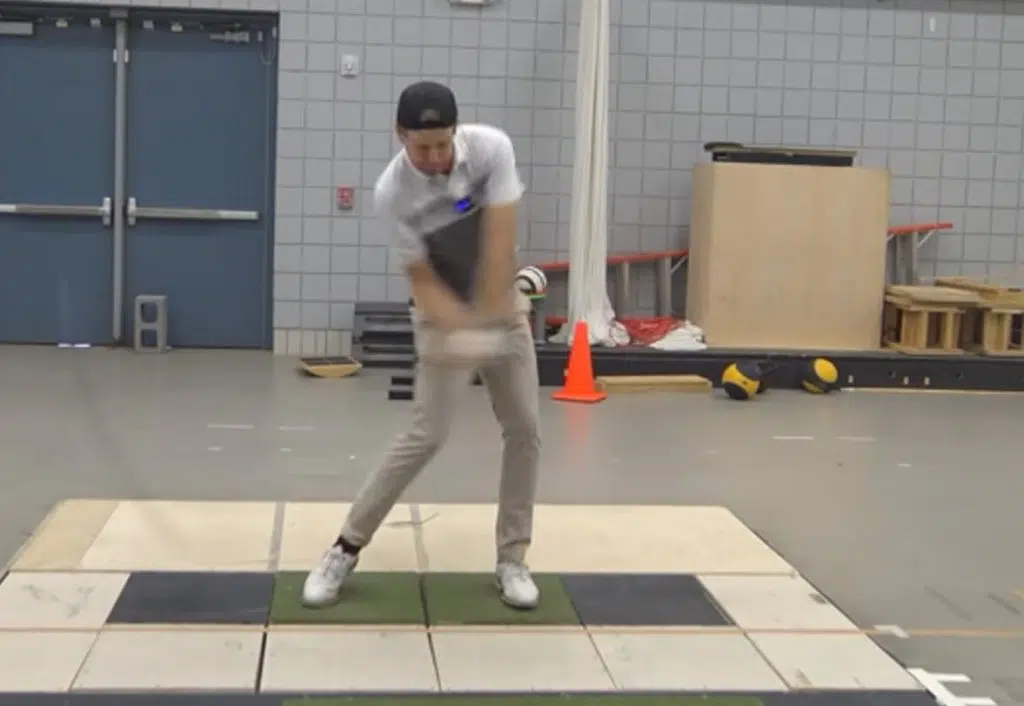
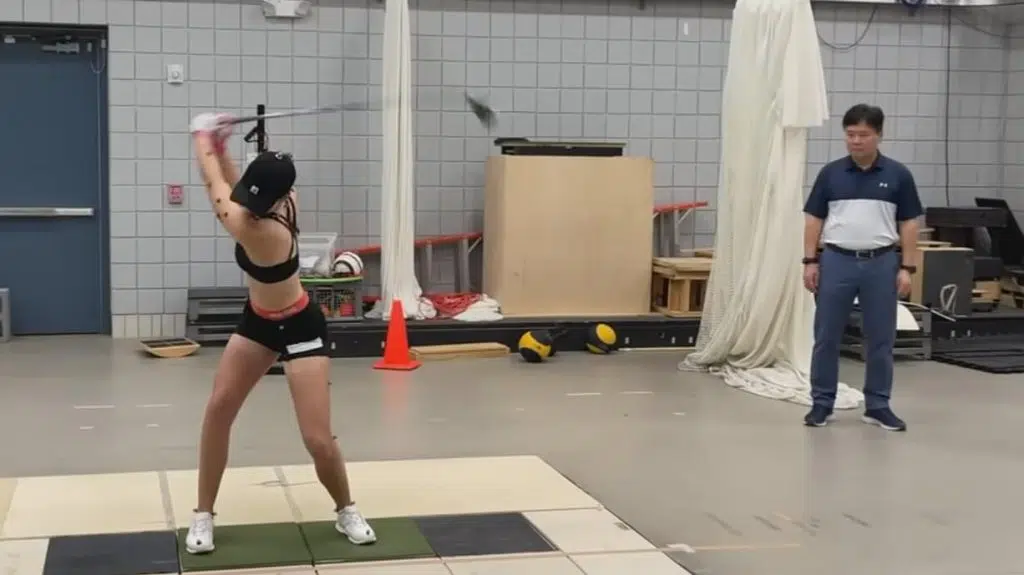
It’s okay if your heels come up off the ground a bit. If anything, this is actually a good thing. It means that you are applying similar levels of pressure to the other stages, but without taking any steps.

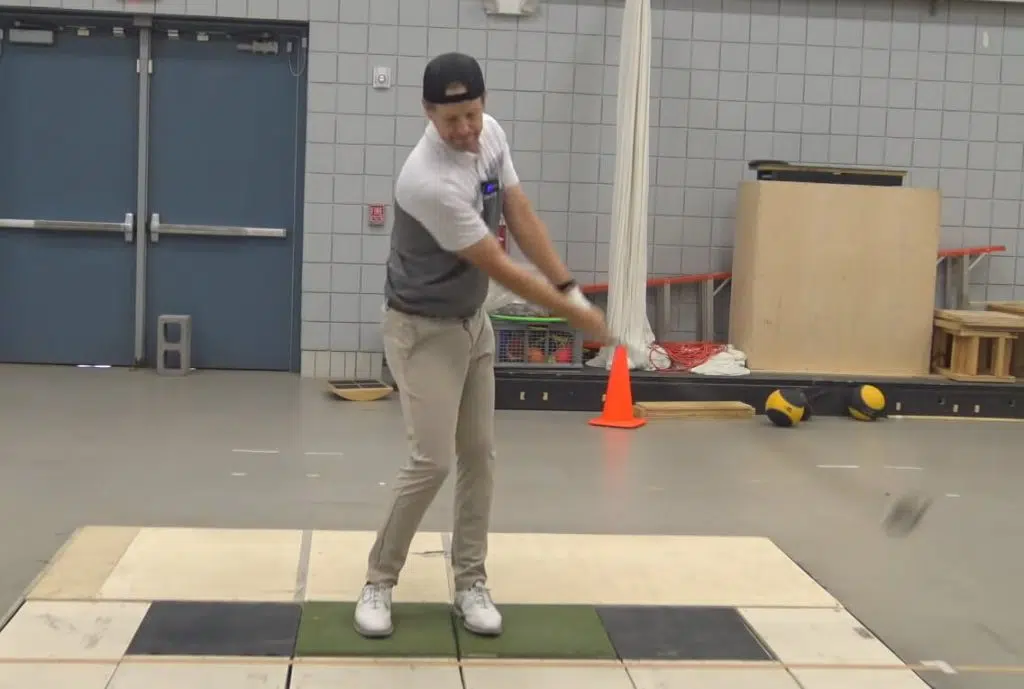
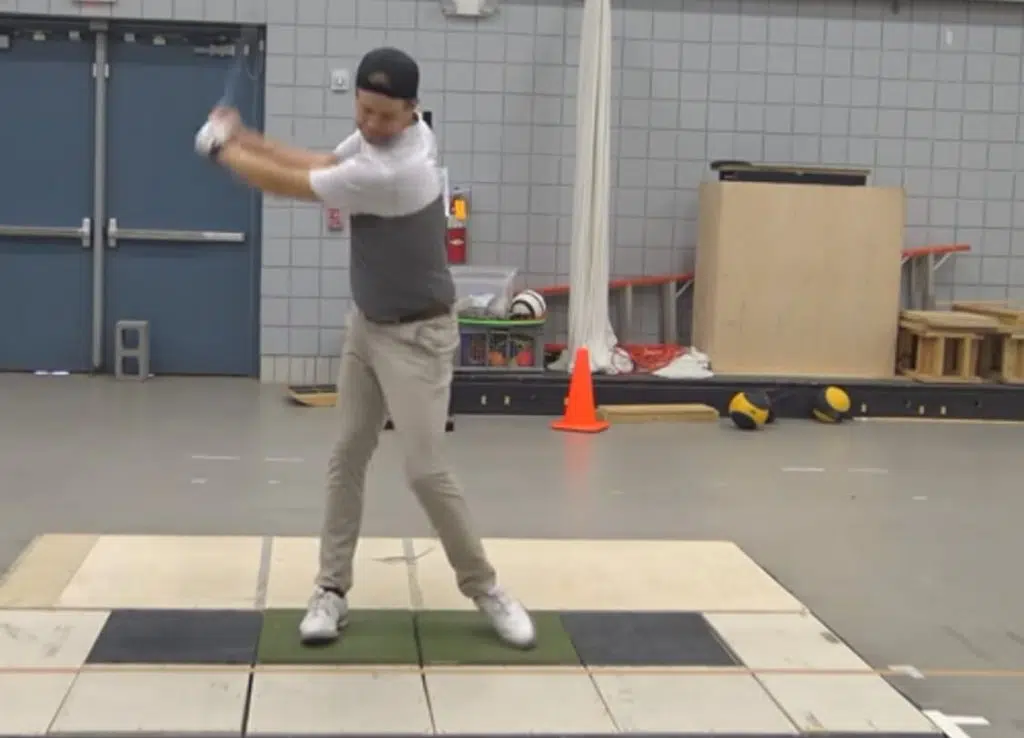
Aim For 10 Solid Reps of the Stage 3 Drill

Dr Kwon Stage X Swing Drill

The Stage X drill that Dr Kwon promotes is really about learning a natural takeaway using continous motion to unlock the feel of a correct takeaway.
When starting from a static position (as all golf swings do), it is easy to move the clubhead in such a way that the weight of the clubhead is no longer in sync with your body.

Stage X Summary

  • Move 1: Rock the club forward
  • Move 2: Step into a shortened backswing
  • Move 3: Step into a shortened follow-through
  • Move 4: Step into a shortened backswing
  • Move 5: Step into a shortened follow-through
  • Repeat this movement pattern for 30 seconds or more

Stage X Drill Key Points

The drill makes it easy to feel how you should move into your backswing and how you should move into your followthrough. There is a sensation of falling and stepping on the way back and the way through. In theory, it should help alleviate unnecessary movements that have been ingrained into your takeaway

For this drill, continuous motion is your friend. It helps to emphasize the correct movement patterns players that most tour players have fully ingrained into their swings.

About Dr. Kwon

Dr. Kwon is the Professor of Kinesiology & Director of the Biomechanics & Motor Behavior Laboratory at Texas Woman’s University

He has literally dedicated decades of his life to studying the swing mechanics of elite golfers.
The list of tour players that have worked with Dr Kwon is very impressive, including major winners such as

  • Bryson DeChambeau
  • Trevor Immelman
  • Hideki Matsuyama
  • Vijay Singh

Although Dr Kwon only really works with elite amateurs and professionals, he has a collection of drills that can be used by amateurs of any level. 

You can learn more about Dr. Kwon on his website.